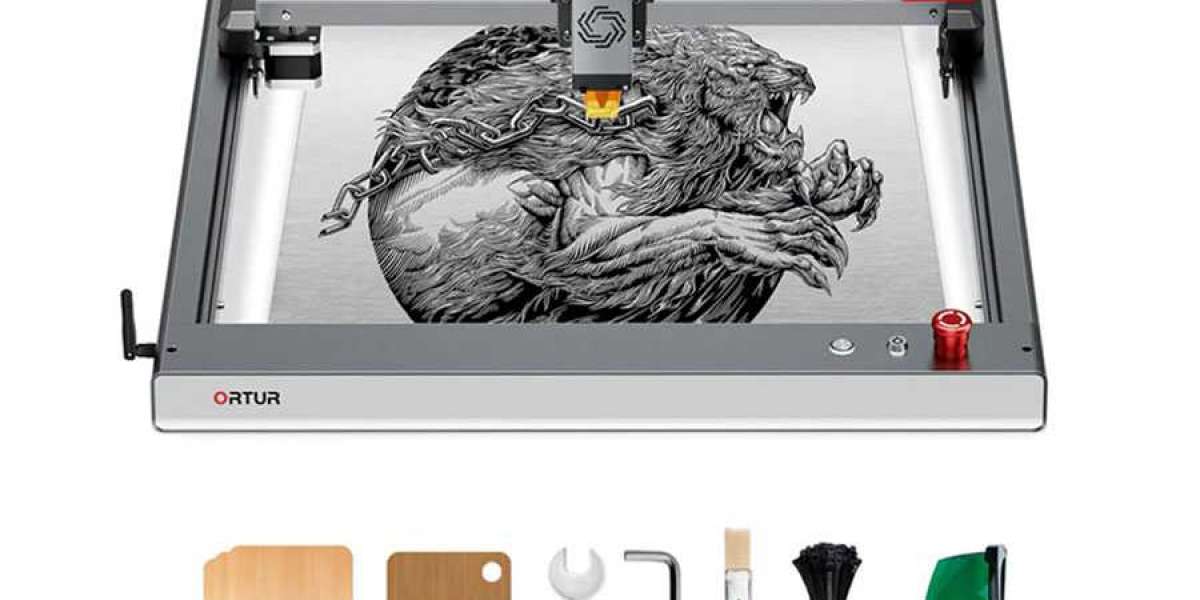
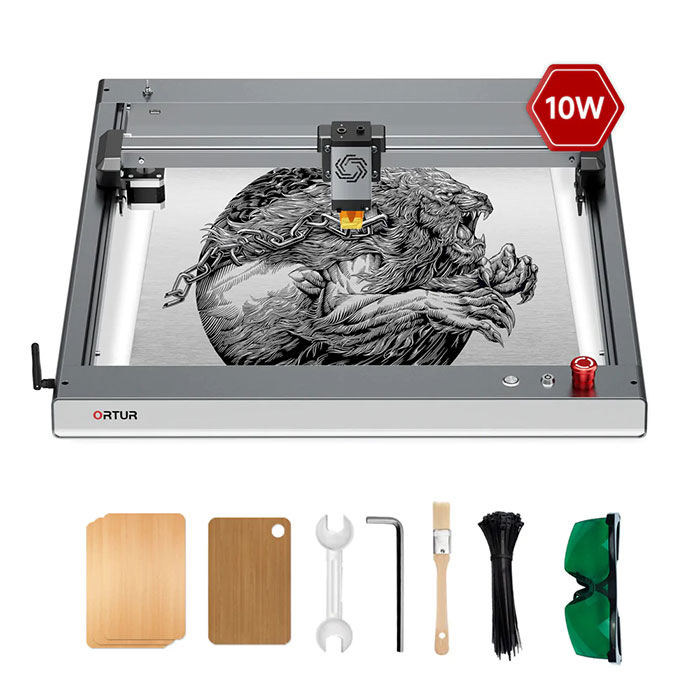
Learning how to laser engrave a photo is one of the more difficult but rewarding activities you can do on a laser engraver. Here I went through the steps I went through to engrave my photos using my ortur laser master 3 to achieve the best results. Now I share my engraving steps and experience with you, Ortur is an excellent business of laser engraving machines, providing the best laser engraving machine products.
Here are The 10 Steps ff Laser Engraving
Step 1: Choose Your Lens
The best focal length is 1.5 inches, but most users will have a 2-inch focal length and still get good results. Premium 2" meniscus lenses outperform plano-convex lenses.
Step 2: Choose Your Materials
Near-white surfaces with little texture are ideal. Materials such as card, MDF, spruce-faced plywood and even natural colored leather. These organic materials work amazingly because they maintain a nice crisp dark focus. This is a key requirement for the eye and brain to mix different dot densities with a light-colored background that creates the illusion of a grayscale image. The following principles also apply to mineral materials and plastics. However, the main difference is that there is usually a dark background and the points you produce will be white. So, before the laser, you have to turn your photo into a negative.
Step 3: Find The Perfect Focal Length For Your Work
Find the perfect focal length for your work. You can do this by using the Dot Evaluator How to Laser Engravr Photos with this Dot Size Tester. Set the power to around 15%, the speed to around 50mm/s, and run some tests with my focus pedometer at various 0.5mm intervals to find the sharpest, smallest spot. You will need a magnifying glass to do this assessment.
If you don't know how to adjust the focal length, then you can go to the HTPOW website to find our customer service to help you, and we will give you the most professional advice and operations.
Step 4: Determine Achievable Point Size
Choose the best focal length and look closely at the point to assess its diameter. The pattern of dots will aid in the assessment. And the ortur laser master 3 can also be adjusted more easily, because the merchant takes this situation into consideration, so you can better perform laser engraving and cutting.
Step 5: Calculate The Resolution Of The Photo
Your dotting ability will determine the resolution of your pictures. While the theoretical spot size for a 2" lens is 0.1mm, you'll be lucky to get better than 0.2mm. So let's use this typical value in all of the following calculations.
Image resolution is usually expressed in "PPI," which is short for pixels per inch. We (and RDWorks) work in metric units. So one inch has 25.4mm;
Calculate 1
25.4 / point size is 25.4 / 0.2 = 127ppi.
This is the best resolution you can use. If you decide to ignore this and use 300 dpi, your dots will overlap and cover the white background that is crucial to the illusion of grayscale. Trust me at first, then do your own experiments.
Step 6: Import The Image Into Lightburn
Use the bitmap handle to see the native resolution. Set the size of the picture to suit your requirements, now use the bitmap handle again. You'll find that the resolution has changed, but don't worry. Use the zero button to set brightness and contrast to midpoint. If you are working with minerals or plastics, do not turn it upside down. Tick the Set resolution box and set the resolution to 127ppi. Check the Dither box and select Point Graphics. Now press the Apply to View button.
Step 7: Experience and Artistic Judgment
Now is the key to the help of seasoned guesswork. You can adjust the brightness and contrast to turn a photo that looks really good into something that looks dramatic but enhances certain features (like the eyes) if this is a portrait.
One trick is to zoom in on a bright area and see how many pixels you can see. Increase the brightness by no more than 5% and press the Apply to View button. Repeat this 5% process with brightness and contrast until your image pops off the screen. Too much brightness will lose detail, as will too little contrast. Now finally zoom in and check those bright areas again, most of the dots disappear.
This is one of the hardest steps, and you'll only get a better assessment of how much you can distort the picture with practice.
Step 8: Application Sources
When you are satisfied, press Apply to View again, then Apply to Source, then press the OK button. Click on your source image and it will shake. You can't go back and adjust the picture brightness and contrast right now, you have to delete it and start over to make changes. If you are satisfied with the final look and need to invert the picture to negative, reapply the bitmap handle and tick the Invert box, then press Apply to View again, then click Apply to Source, then click the OK button.
Step 9: Set Engraving Parameters
We must now set the sculpting parameters.
Calculate 2
We have set the point size to 0.2mm, so 1mm / 0.2mm = 5 pixels/mm
This is the secret part I've spent so long trying to build. How long does it take for the machine to form a full power point? This number we're going to use may vary slightly between machines, but from all my observations, it's somewhere between 3 and 4 milliseconds. Ortur Laser Master 3 allows you to set more precise settings, of course, this requires you to manually set the relevant parameters.
So let's use 3ms in the calculations below. If we use a smaller number, we won't get an even burn. There are single points and groups of points. We're trying to make a single point reach its full potential to match the burn of a multi-pixel group. Now that we've set the resolution, it all comes down to speed.
calculate 3
3ms per millimeter x 5 pixels = 15ms per millimeter.
1000 ms (i.e. 1 second) / 15 ms = 67 mm/second.
This crucial step sets the speed to ensure we don't go faster than 3ms per pixel. If you decide to ignore this and run faster, you will dilute the blackness of individual points, which in turn will distort the grayscale illusion you are trying to create. Again, trust me to start from scratch and try it myself.
Step 10: Determine Optimum Power
Now that we know the running speed, we need to set the power. Make sure all engraving options boxes are not checked. We don't want to do grayscale engraving, we just want DOTS. Temporarily set the maximum and minimum power to 15%. This is hard to do.
Now back to the machine and my little dot test pattern. Set the speed to 67mm/s, 15% power, and with your material, run the test several times, reducing the power by 1% each time. Checkpoints and dashes. Because dashes are multiple dots, they are always black. Try to find the lowest power value where the dot color matches the dotted line color. Now revisit your program and set it to your power parameters.
Pro Tip: I Would Suggest Two Other Things
First go to configure system settings and set the head to one of the bottom corners. This way, the sculpt will start at the bottom and no smoke will flow over your stunning sculpt.
Second, reduce your air assist to the tiniest level and make sure you have good extraction cross flow to prevent smoke from being dragged away from your work.