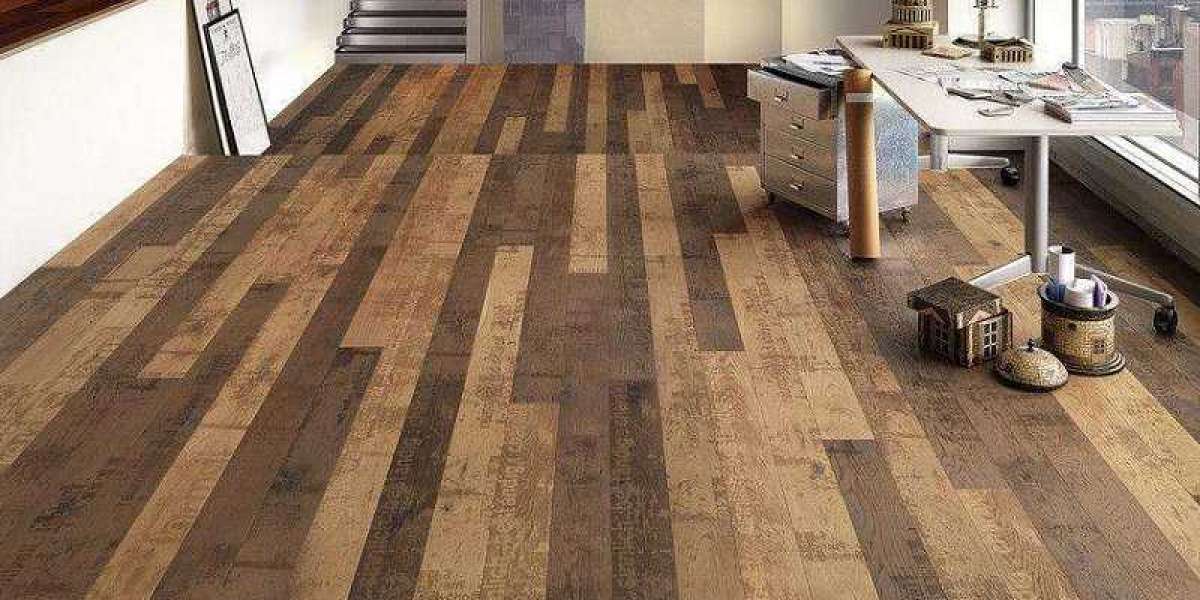
Click Lock LVT floor is easy to install. Follow the instructions below and you can get the job done quickly at home.
- Plan the layout of the floor before installation. Place a row of boards in the corner of the room. Do not back them up, but check if you need to customize the layout.
- The installation must start from left to right in the room. Place the first plank in the upper left corner of the wall and let the grooved edge point to you. Use a spacer between the wall and the edge of the plank, with a gap of at least 4 mm always provided for a stretch joint between the floor and the wall.
- Place the end of the second plank and lock it with the end of the first plank. Use a rubber hammer to gently tap the joint and ensure a firm locking. Continue this way until you reach the last plank of the first row.
- For the edge of the last plank in the first row, mark a line with the ruler for the part to be cut. Use a sharp universal knife to cut constantly and firmly on the same line. The plank is divided into two parts according to the cutting line.
- To start the second row, you can use the remaining part of the last plank of the first row. Always leave at least 8 inches of space between the final connections of the previous row and the row you want to install vinyl flooring. If not, you need to cut a new plank with a length of at least 8 inches to start this series.
- Lock the long edge of the new hall with the one in the installed row. Place the new plank with a 30 degree angle on the short edge of the previous diel in the previous row. Similarly, use the rubber hammer to gently tap the joint after dropping the plank. Check that they are at the same height and you will know if you are installing them correctly. Please make sure they are well aligned before you start with the next line.
- To achieve an ideal installation result, the following lines should be offset. For example, cut the first plank of the second row in 2/3 of its original length. Cut the first plank of the third row to 1/3 of its full length. Use the rest of the parts at the end of each row.
- Use a cord line to check straightness when 2 or 3 lines are finished. If the boards are not running straight, you must cut off the first row to adjust them. Continue the installation this way until the last line is finished. Always measure and cut the last plank in each row to the correct length when you reach the last plank in each row.
- To replace the molded part, please note a small gap between the molded part and the boards. Nail the molded part into the surface of the wall instead of the floor.
- After 48 hours, remove dirt residue on the ground surface with a moist mop
Hopefully this article will be helpful for you.


